GARDEN THEMED PARTIES
A bonanza of backyard celebrations
For trusted expertise and superior results,
find a landscape professional near you.
Presented by the National Association of Landscape Professionals in partnership with ![]()
By Alison Hodgson
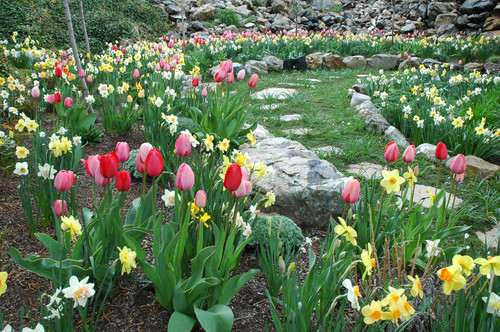
Living in Michigan as I do means enduring long, harsh winters without much sun and almost no color. Every year the appearance of flowering bulbs, like crocuses, tulips, daffodils and hyacinths, represents the hope of spring and has a special place in my heart. Even in the midst of winter, knowing those bulbs are waiting in the cold, dark ground gives me hope that we're all going to make it through.
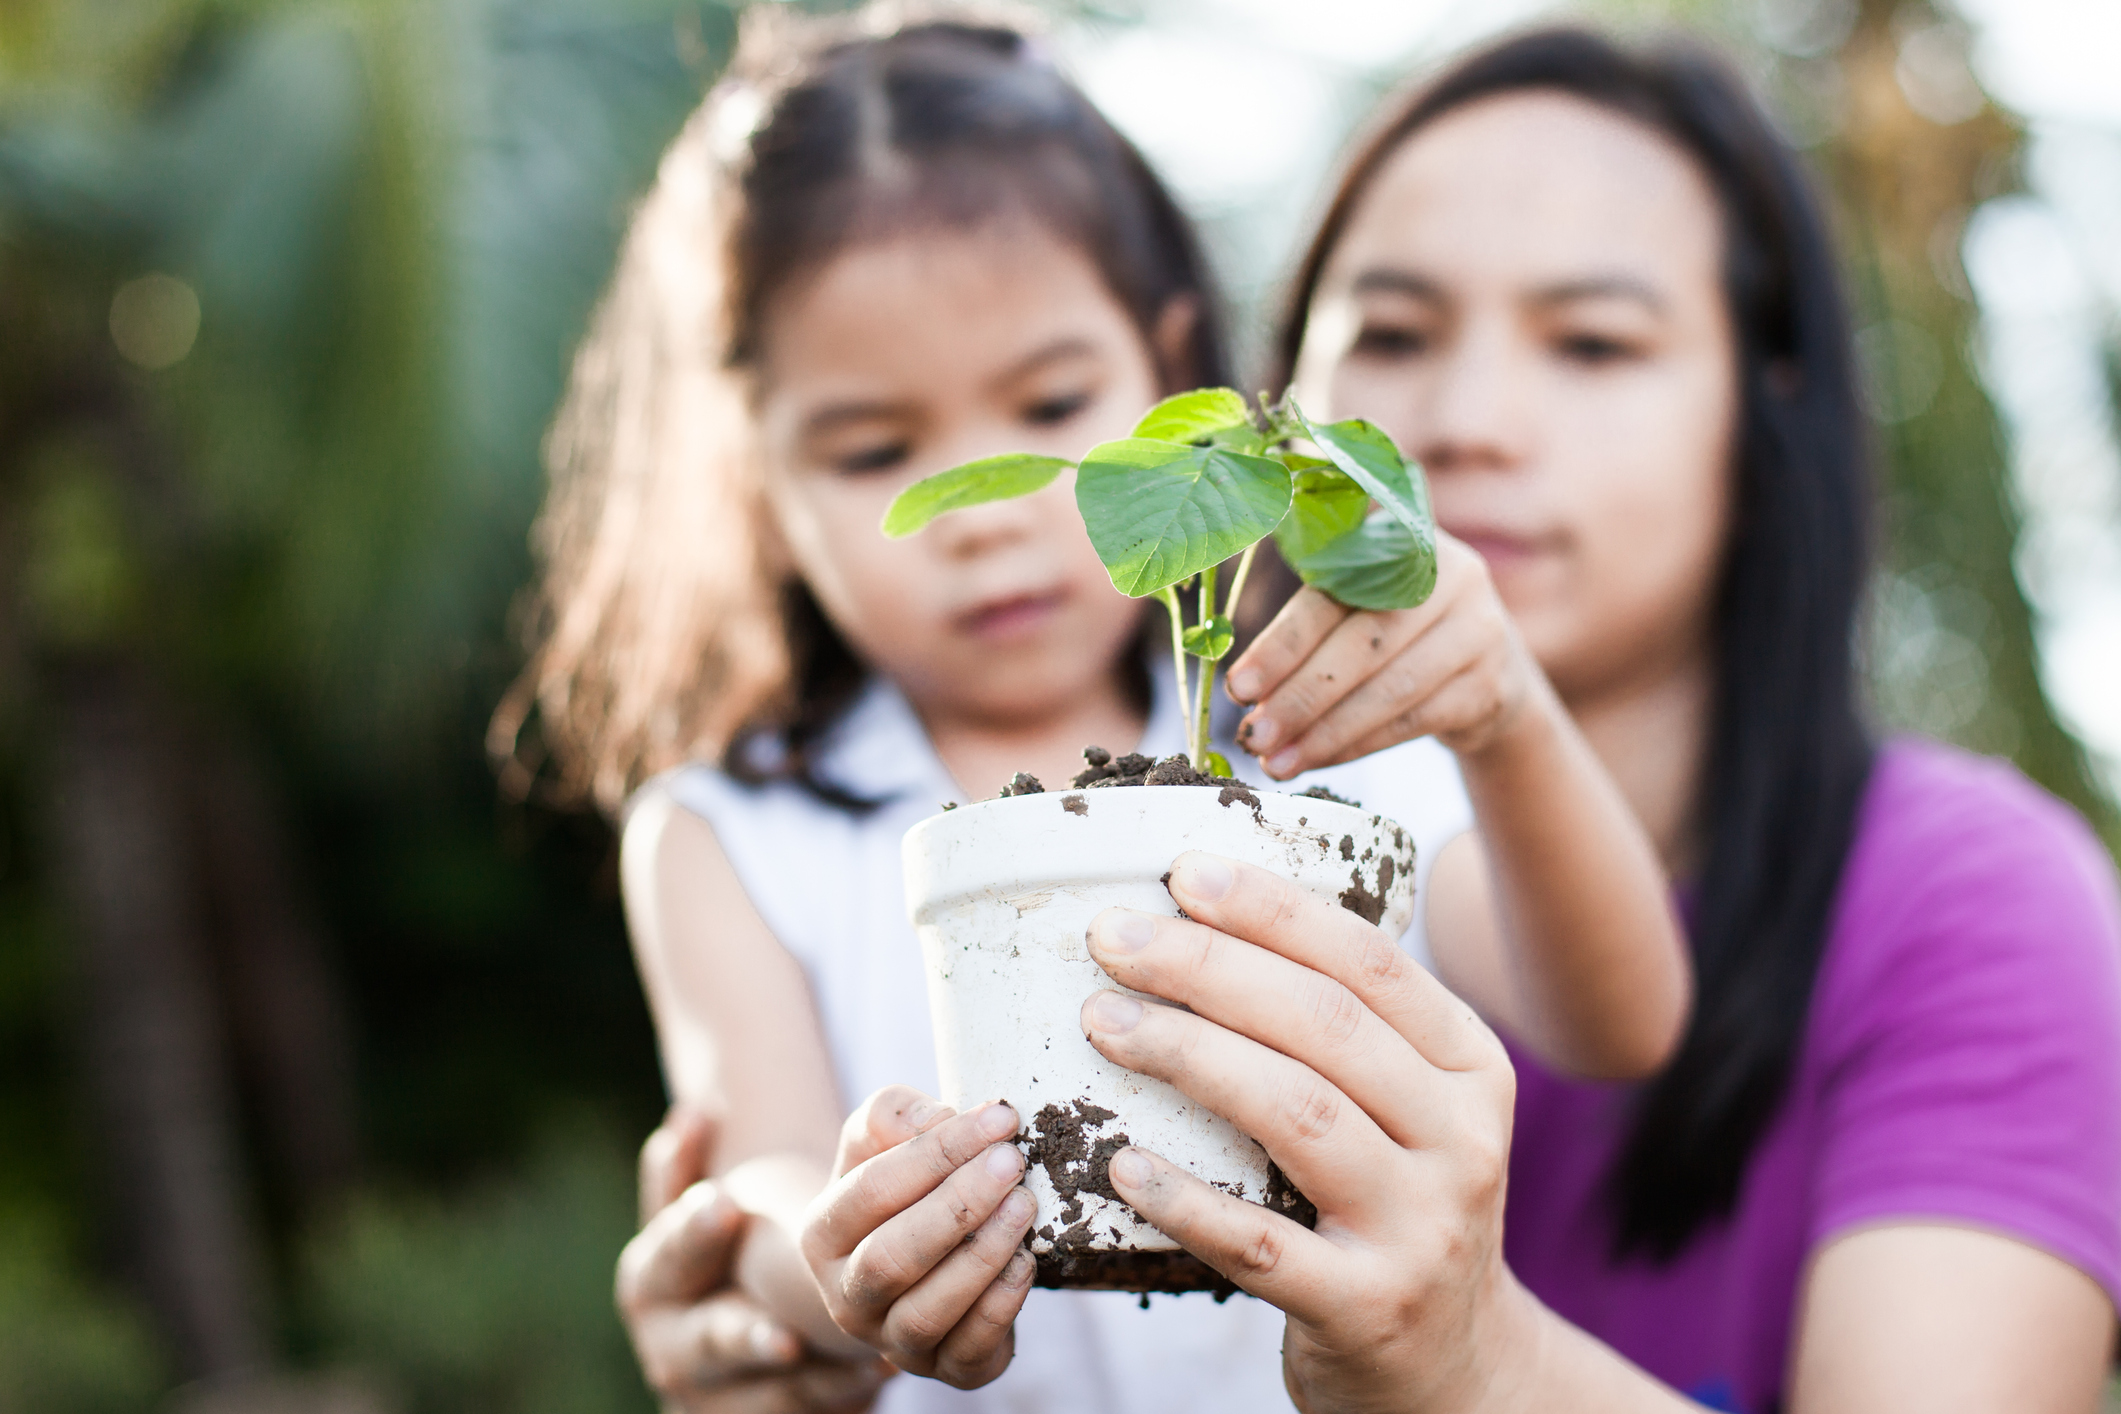
Planting bulbs in fall is easy, and it's a fun project to do with children.
I'm a simple gardener: A spade, a flat-edged shovel and a trowel are my main tools, but I do recommend a bulb planter. It costs only $5 or $6 and is worth every penny. Be sure to buy one with a squeezable plastic handle
A friend of mine has a special attachment he uses with his drill and swears by, but I prefer this simple, entirely kid-friendly method.
Place the bulb planter on the ground where you want to dig the hole. Push down and rotate the planter back and forth or around — clockwise, then counterclockwise — until you reach the depth you need.
Our hyacinths needed to be planted 6 inches deep, and my planter went only 4 inches, so I just did a few more turns to dig an inch or so deeper. When you do this, the extra dirt piles on top of the planter. Lift the planter out, and all the dirt will magically come up with it.
Move the bulb planter off to the side of the hole. Squeeze the handle, and the soil will fall to the ground.
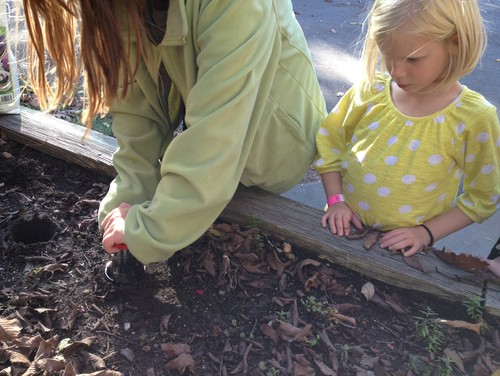
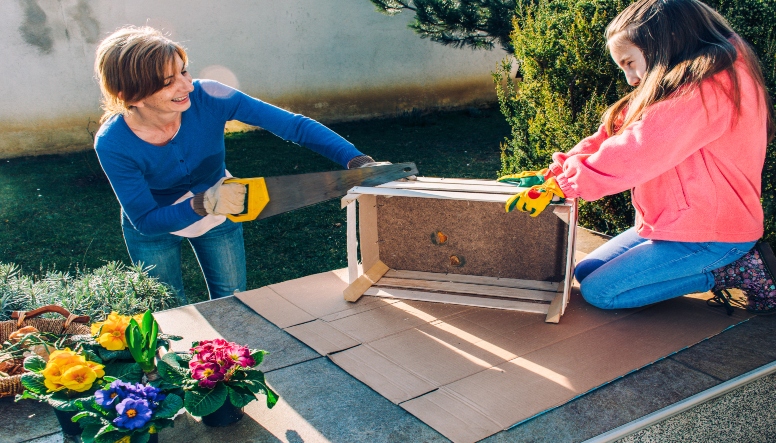
If you have children, or access to some, bulb planting is a great project to do together. My 10-year-old daughter and 5-year-old niece, shown in these photos, can do it with ease.
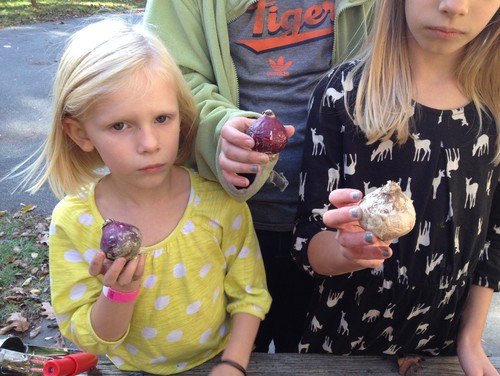
Plant the pointy side up, as shown so soberly here. (I promise we were having a nice time.)
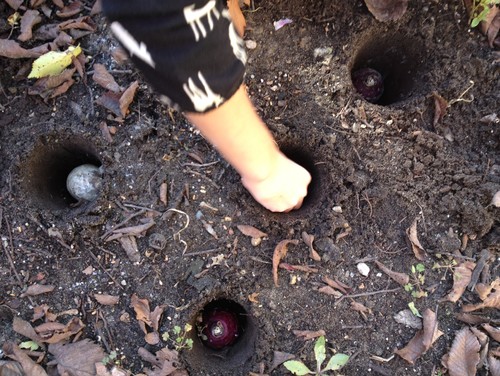
Full disclosure: These are planted too far apart. The kids dug the holes so nicely, I didn't want to correct them.
For optimum placement arrange the bulbs on the ground before digging your holes. This will allow you to get a feel for how they'll look and to rearrange things easily.
When all the bulbs are planted, push the excavated dirt over them and gently pat it down. If you've had an excessively dry fall, you could give them a light watering, but normally they'll be fine.
Some gardeners like to add bonemeal to the planting hole, but it's really not necessary that first year. A good idea is to lay some compost or well-rotted cow manure over the planting site starting the second fall.
Whatever bulbs are best for you, there are only a few things to remember:
1. Some are better than none. If you're like me, your head may be dancing with all the choices, and you may want to plant hundreds of bulbs. But I recommend you start small. Pick one variety and save your back, your knees and your wallet the first season while you get a feel for the amount of work it is to plant them.
2. Keep it as simple as you need. We have a local nursery I like to visit, where there are hundreds of varieties of bulbs. I have had fun carefully picking out different varieties with my kids, but the last couple of years, I have grabbed a big bag at Costco and called it good.
3. Leave the leaves! One great thing about daffodils is they naturalize, which means they tend to come back in bigger numbers every spring. Once the bulb has flowered, you may be tempted to cut back the leaves, but don't if you want it to bloom the next season. The bulb needs the food stored in the leaves, and only after they have died can you cut them back.
Some gardeners take the time to braid the remaining leaves, but the easier way is to plant your bulbs with other perennials such as daylilies or ground covers, so the emerging plants camouflage the dying leaves

Although I love tulips, they aren't a practical choice for my home. A well-traveled deer trail runs through our property, and tulips are among their favorite treats. For some reason they don't like daffodils, so last fall my daughter and I planted daffodils.
We had a difference of opinion on varieties. I prefer the darker and brighter yellow, but Eden was all for the pale yellow-white. When they bloomed this past spring I was surprised to see this weird line of demarcation underneath our Japanese maple. The only thing I can think is that we mistook one of the bags. I wish that hadn't happened, but I'm pleased with the spacing and number.
It would have looked better if I had done smaller groupings of the two different bulbs, as shown here.
Tip: Plant bulbs in clumps of uneven numbers - they just look better.
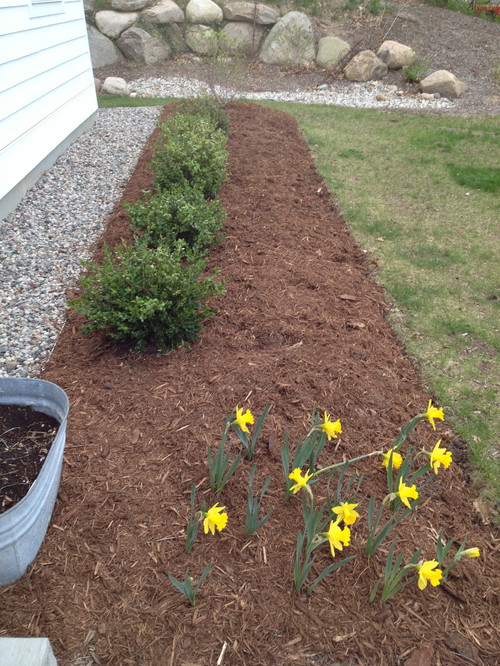
This is the other side of my front door. Although we planted a decent amount, we spaced them too far apart, and they ended up looking spindly. I'm going to add more this year to beef up this planting.
Whatever and however many bulbs you decide to plant, one thing is for sure: Watching for the first green shoots will be a deep pleasure of early spring.
For more tips on gardening, contact your local landscape professional.
More from Houzz

Fun ways to grow a budding scientist

Calling T-Rex and friends

Little gardens for little landscapers

Capture Jack's magic in your own backyard

Start a memory-making tradition

Welcoming the birds and bees

Two houses are better than one

Knowing when to water is as important as how much to water
And how to bring hygge outdoors

Bringing YOU out in your yard

How to have the most awesome yard on the block

Twinkle, twinkle little light

Finding the ideal amount of H20
Don't let water (or money) go down the drain

Make your lawn healthy, hardy and happy

Here’s what you need to know

Welcome birds, squirrels and other wildlife to your yard
We recently updated our Privacy Policy. By continuing to use this website, you acknowledge that our revised Privacy Policy applies.